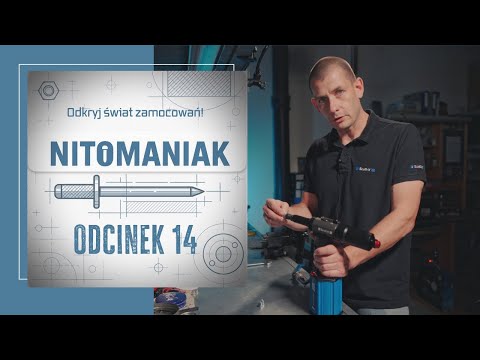
空圧油圧リベッターScell-It
E-312NP


価格と所在地
- 所在地:
- Tarnowskie Góry, ポーランド
技術詳細
- 総重量:
- 2 kg(キログラム)
- 保証期間:
- 3 ヶ月
- 圧力:
- 7 バー
オファーの詳細
- 広告ID:
- A22109818
- リファレンス番号:
- E-312NP
- 更新:
- 最終更新日:12.06.2026
説明
Nose/Mandrel Replacement:
Detailed instructions for replacing the nose and mandrel can be found in our comprehensive operating manual. If you intend to use self-clinching nuts of different diameters, it will be necessary to change the nose, mandrel, and adjust the tool accordingly. Consult the instructions to learn how to make these changes and adjust the mandrel length to the size of the self-clinching nut.
Self-Clinching Nut Installation:
After performing the startup procedures and adjusting the stroke, insert the self-clinching nut into the pre-drilled hole.
Place the mandrel in the self-clinching nut and press the tool. The mandrel will automatically seat itself in the self-clinching nut.
Press the tool trigger to clamp the self-clinching nut onto the component.
The release will occur automatically after the self-clinching nut has been clamped onto the component, allowing you to release the tool.
If the tool is not released from the self-clinching nut, press the button on the back of the tool to force the release.
Stroke Adjustment:
The tool stroke must be adjusted to the component on which the self-clinching nut will be clamped. The E-312NP riveting tool allows stroke adjustment from 1 mm to 7 mm. To adjust it, follow the instructions below:
Nsdpezc Dx Ijfx Ablecu
Precise stroke adjustment is crucial for effective self-clinching nut installation. Here are some tips for controlling stroke adjustment: The stroke can be set from 1 mm to 7 mm. The graduated scale on the tool accurately indicates the set stroke. To increase the stroke, move the adjustment slider towards the front of the tool, while simultaneously turning the knob to the left. Then release the slider, ensuring that it is re-seated on the head. The cursor will indicate the range of the set stroke. To decrease the stroke, follow the same procedure, turning the stroke adjustment knob to the right. Our self-clinching nut riveting tool is designed to allow precise stroke adjustment and ensure optimal installation results.
If the stroke is incorrectly adjusted or the self-clinching nut has a quality defect, the mandrel release may be difficult. In this case, use the "anti-block rod," which is included in the kit. Insert it into the hole in the base of the sleeve and turn it to the right to release the self-clinching nut, as shown in the illustration in the manual.
この広告は自動翻訳されています。翻訳ミスがある可能性があります。
提供者
登録日: 2026
5 オンライン広告
お問い合わせを送信
電話 & ファックス

Machineseeker信頼の証
信頼のシールとは何ですか?
Machineseeker は、選ばれた販売店に Machineseeker 信頼シールを認定しています。 発行前に、経験豊富なMachineseekerのスタッフが標準化された包括的な検査を行います。
私たちは何を検査しますか?

営業許可証または商業登記簿抄本の確認
販売者の
郵送先住所の確認
銀行接続の検証
主番号の
電話による
接続可能性の確認
経済情報
には否定的な特徴が含まれていてはなりません
購入者からの苦情
は認証の剥奪につながる可能性がありますこれは購入者としてあなたにとって何を意味しますか?
Machineseekerの信頼シールにより、購入者として自身で確認しなくても、非常に高い確率で誠実かつ公正な取引をしている信頼できるディーラーを見分けることができます。
もちろん、購入プロセス中に意見の相違が生じることもあります。 Machineseekerは、Machineseeker上のアクティブな購入者または販売者による法令違反について責任を負いません。